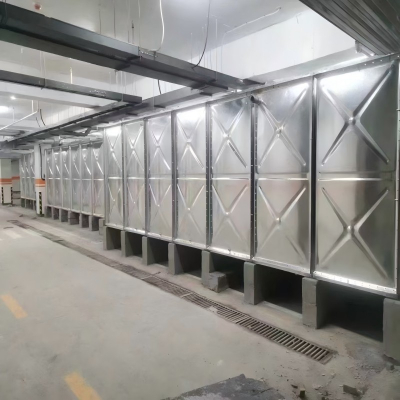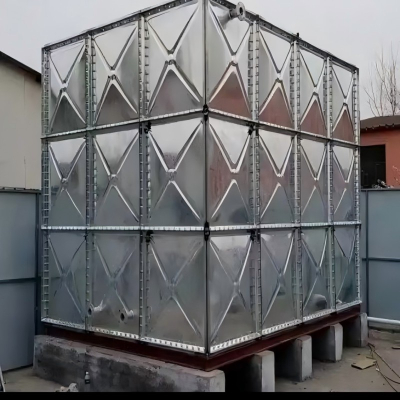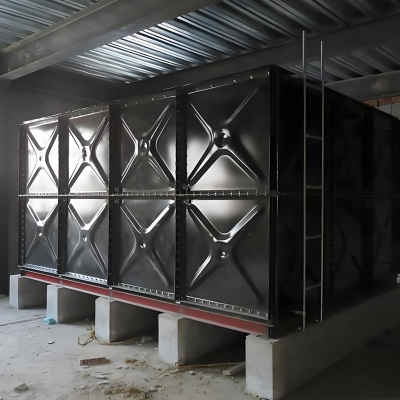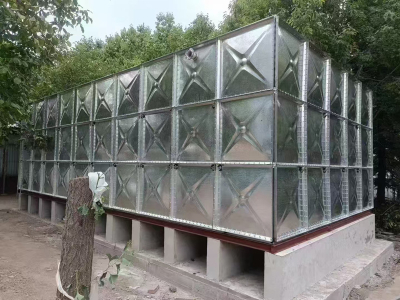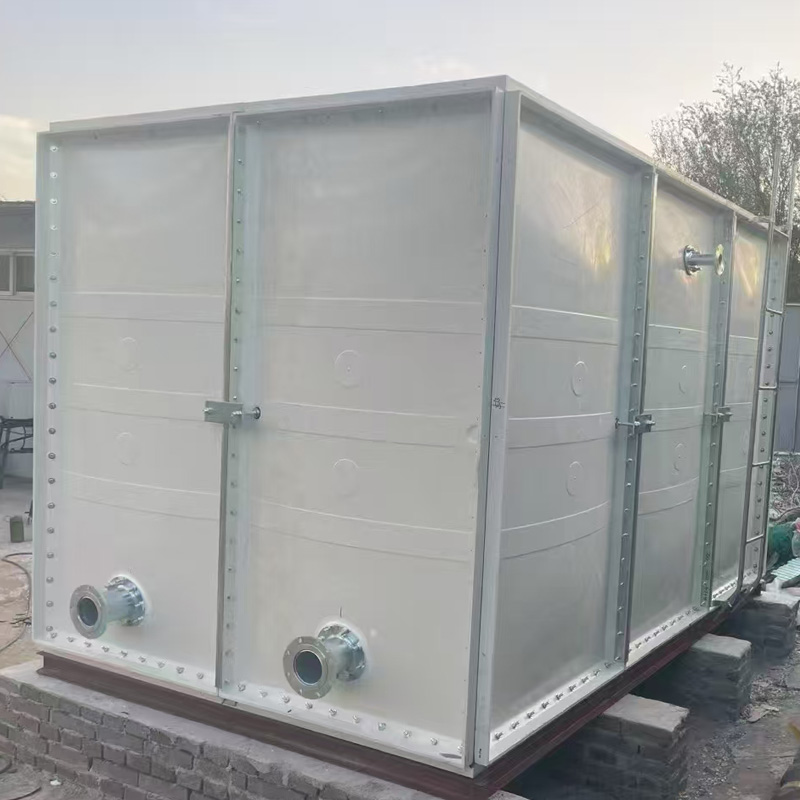
SMC Fiberglass Water Tank
With the rapid development of industry and urbanization, the demand for efficient, durable, and environmentally friendly water storage equipment is increasing day by day. SMC fiberglass water tank, as a high-quality water storage material, is gradually gainingpopularity The favor of the market. Fiberglass reinforced plastic (SMC) water tank is a high-performance composite material formed by molding resin and glass fiber reinforced materials. The thickness of the water tank panel includes: 4mm, 6mm, 7mm, 7.5mm, 9mm, 10mm, 12mm, 14mm. The 4mm thickness panel is specifically used for the water tank cover plate. SMC fiberglass water tank can be customized according to the actual needs of users, whether it is shape, size or color, it can meet the personalized needs of users.
Installation steps for SMC fiberglass water tank:
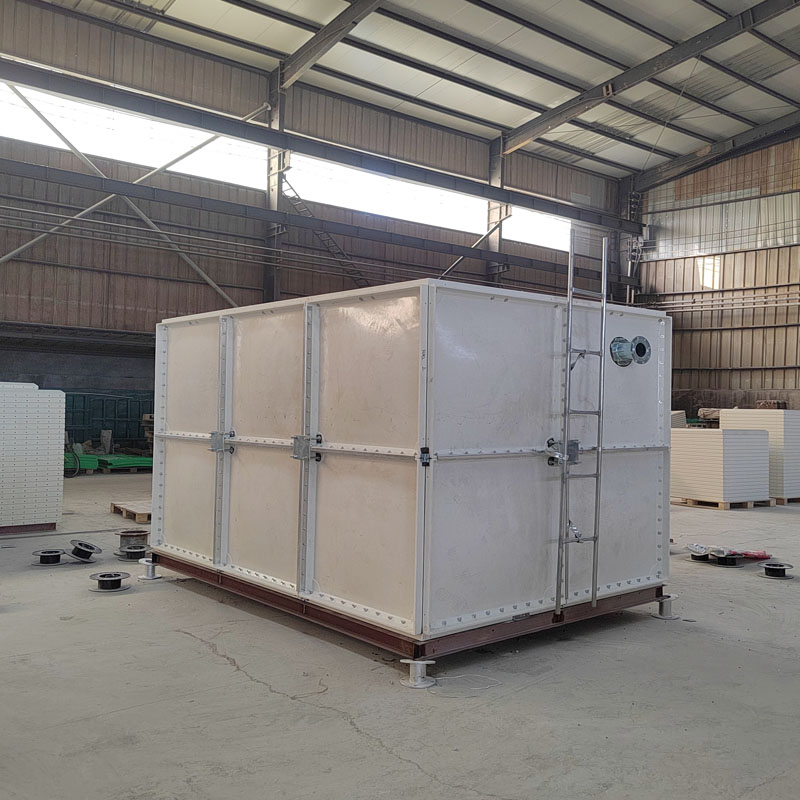
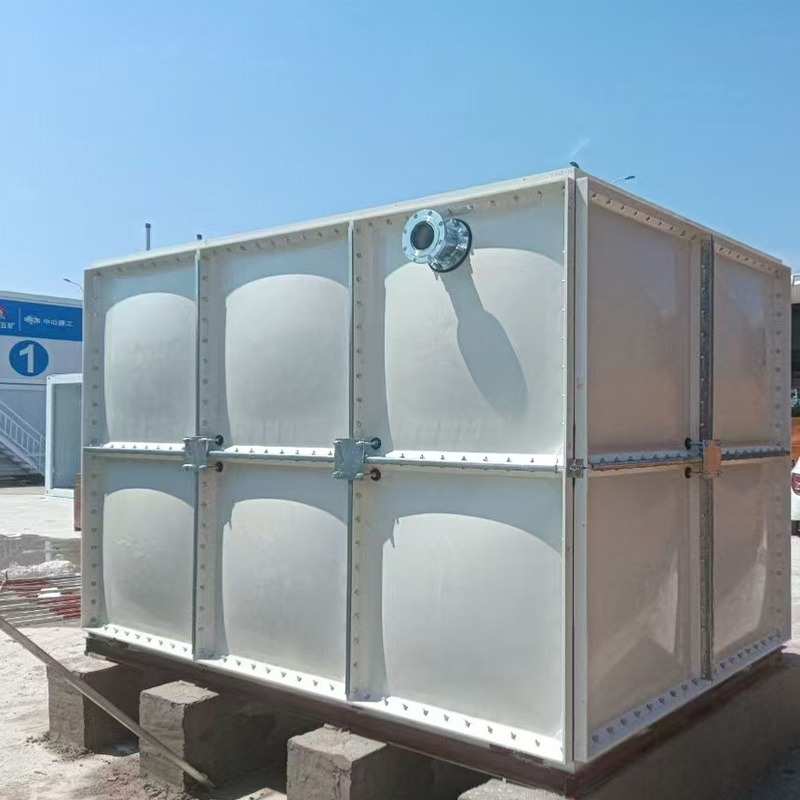
The fiberglass water tank is composed of six quick water tank panels, including the bottom panel, cover panel, and side panel.
Firstly, install the bottom plate: arrange and connect the bottom plate of the water tank according to the printed number and instructions on the water tank panel. At the same time, add a sealing strip between the two panels and connect them with p10 bolts. Ensure the bottom plate is sealed firmly. When applying force to the bolts, apply force evenly at once, 3-4 times per bolt. Do not apply too much force at once, otherwise uneven force may cause cracking of the plate.

Connect the bottom plate and channel steel with fixed angle iron to make the fiberglass water tank body more firmly fixed on the channel steel base.
Install each state: Based on the printed numbers and instructions on the water tank panel, identify the state numbers of each layer of the water tank body, and separate them in advance. Assemble the body with bolts. Stand the water tank panel upright, align it, and form a 90 degree angle between the panel and the bottom panel. Then, tighten the sealing strip and tighten the bolts.

Install internal reinforcement: According to the size of the water tank, find the correct number and length of internal reinforcement. Measure the fastening parts of the tie bars with a tie plate, draw marks, drill holes, align the wires, and tighten them to ensure that the tie bars are flat and balanced with the water tank body. If there is a significant error between the box and the tension bar, the error can be adjusted by adjusting the degree of bolt tightening until the Adjust the difference to the minimum.

It is best to install the cover plate: When installing the top cover plate of the water tank, the bolts should be tightened evenly, and excessive or insufficient force should not be applied. After adjusting all the fasteners of the water tank, open the water pipe openings according to the drawing, and install the flanges for valve connection.
After the installation of all water tanks, a unified inspection, adjustment, and 24-hour water test should be conducted to ensure that the fiberglass water tank does not leak, which is considered qualified. When installing a fiberglass water tank, it is important to be careful and meticulous, taking each step step step by step and striving for success. Each step must be done seamlessly to ensure that the fiberglass water tank is leak free.